The SR+ Model 3 doesn't have a subwoofer, and I like my music. Not a good combo.
I spent a bit of time researching what others have put in their cars, and I decided on a 300W powered sub from Rockford Fosgate as I read it fit in the OEM sub location (only included with the long range model)
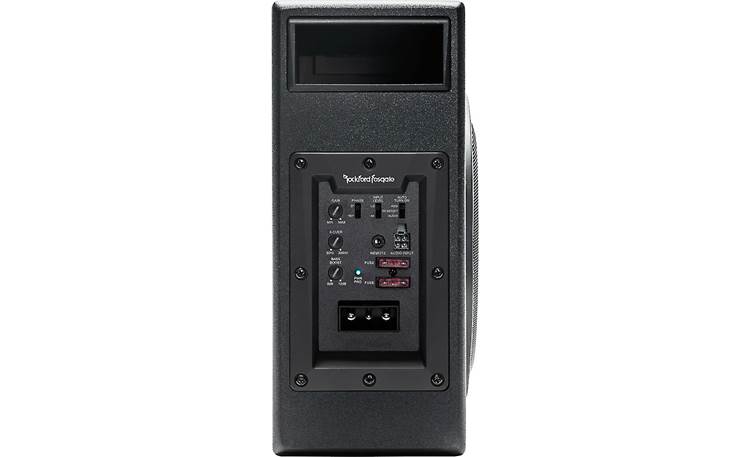
I also chose this sub as the installation process seemed simple, it had an internal amp, and took high level inputs.
I originally wanted to extract the audio signal from the OEM amps, but the A2B signal lines were disabled in my model due to the fact that I don't have a secondary amp. I thought about opening up the primary amp, but it's built into the MCU, and it's an expensive fix if I fry it. Given my prior experience with car infotainment electronics (ahem Volvo) I end up frying them.
I needed to provide the sub stereo audio from the existing OEM speakers, and I decided on using the woofers in the front doors. These plug directly into the MCU, so I pulled up the service manual to see if I could find them on the circuit diagram.
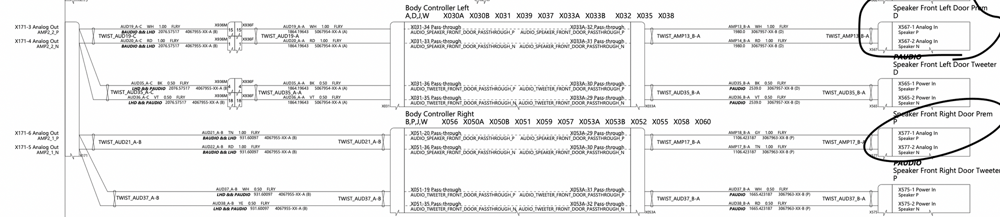
They were both connected through their respective body controllers that then fed into the same 'X171' connector. I found X171 in the connector reference guide, and it was the bottom connector on the right side of the MCU in the passenger footwell. The reference guide was helpful as it stated what colors the wires were, which would be helpful when I tapped into them later.
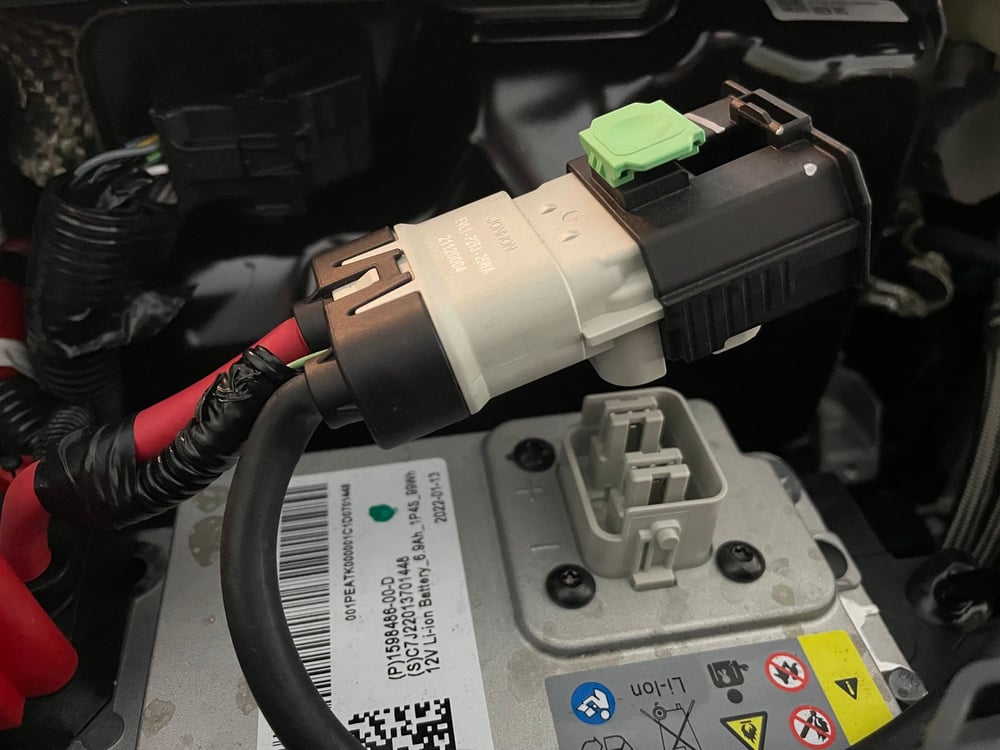
Before I could do any work, I had to completely power down the car. Unlike a normal car, where if the ignition is off, the car is off, the Tesla always has 12V active. I unplugged the Li-Ion frunk battery and disconnected the first responder loop, which completely shut down both the high voltage and low voltage system, making the car safe(r) to work on.
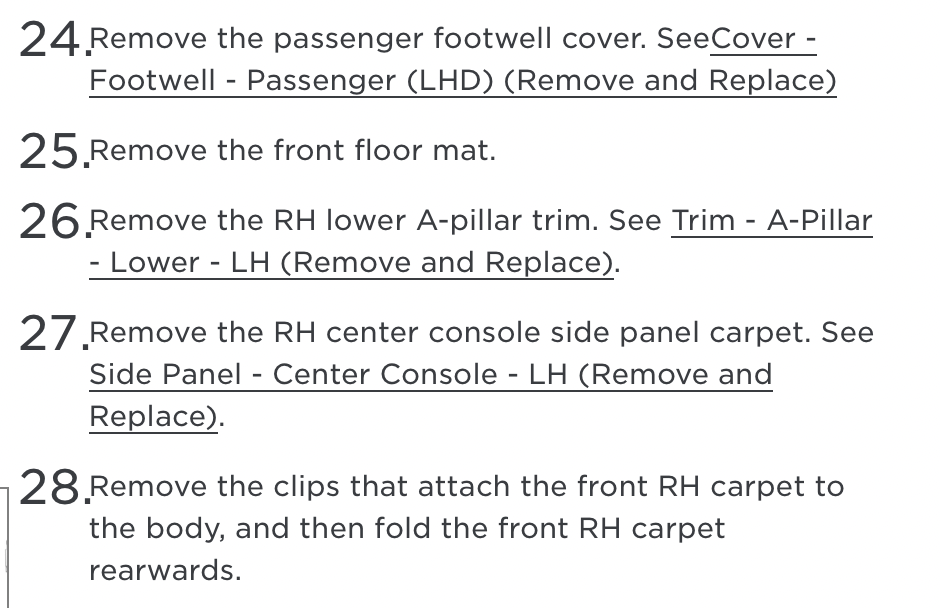
After completely powering the car down, I started by removing all some of the interior trim panels needed to access the MCU.
I finally got access to the connector after removing the panels, and it was a standard locking connector, so I tried to unplug it.

This connector took me an embarrassingly long amount of time to unplug. I didn't take off all the panels stated to unplug it. I should've just removed the panels and saved two hours of my life.
Once the connector was unplugged, I went to everyone's favorite orange hardware store, and bought some wire taps, as I really didn't want to solder into a 3-day old car.
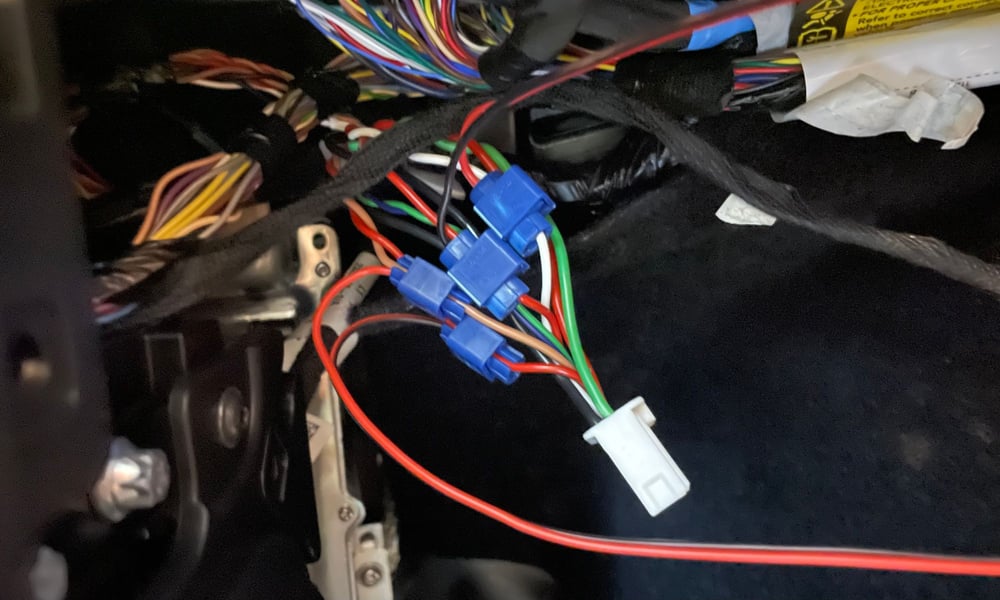
I tapped pins 3 & 4 for the left woofer, and 5 & 6 for the right woofer, reseated the connector (which again, took way longer than it should've), reinstalled the trim panels, and ran the tapped wires back to the trunk.
To be continued!