
In Part 1, I prepped the audio wiring harness in the front of the car by tapping into the door woofers and running the cables back to the trunk. Now, it's time to actually install this subwoofer. It's a lot bigger than I expected, so I fully expected a lot of trouble getting it in place.
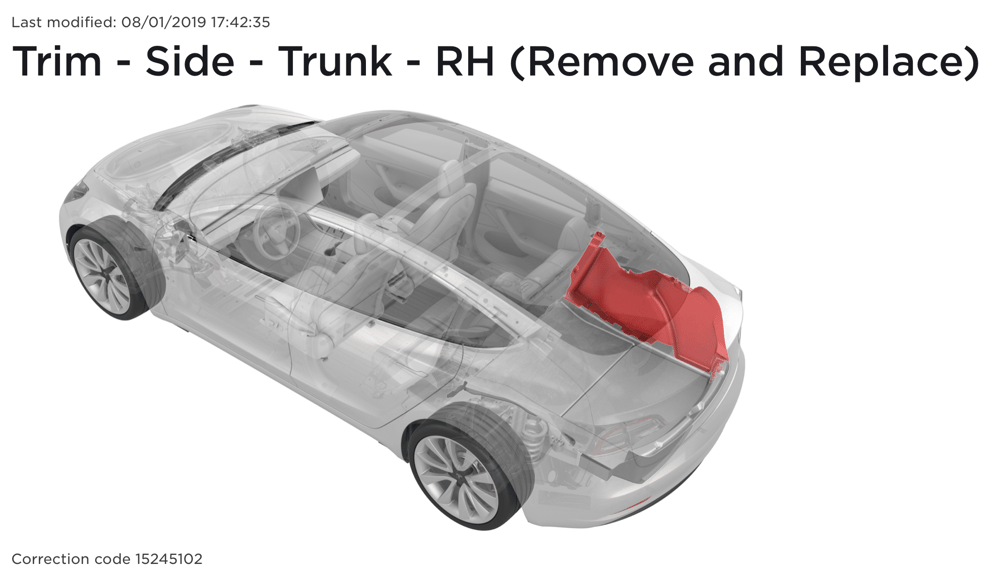
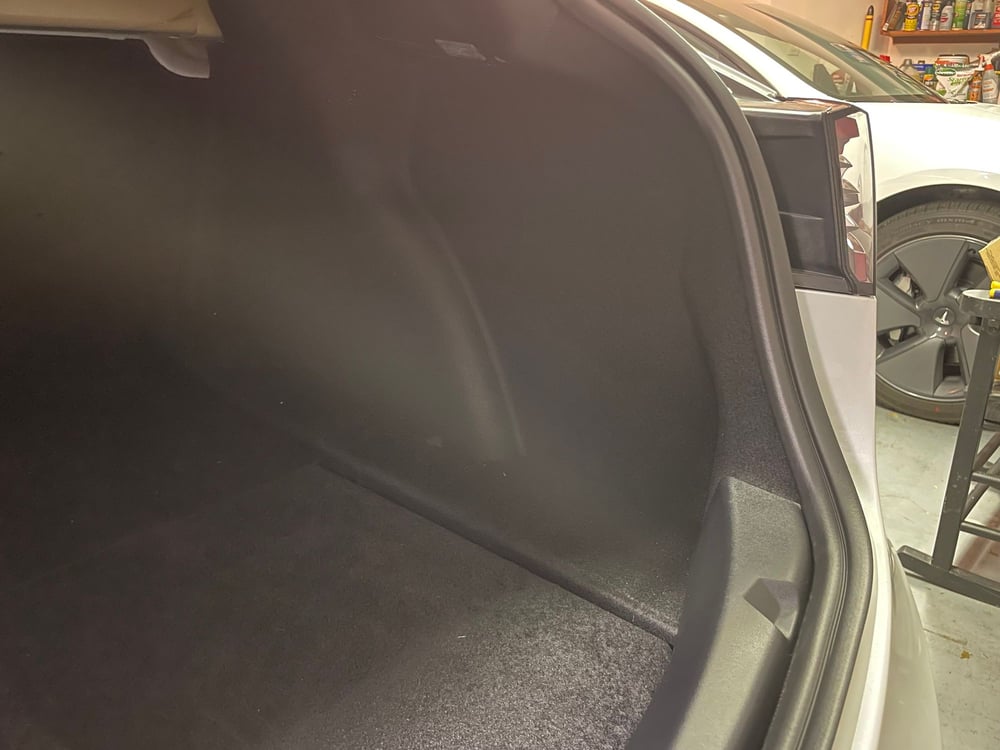
I started by removing the RH trunk carpeting according to the service manual, which, like the rest of the car, was only held in with a few plastic clips. I originally had trouble getting to said clips, but if I actually read the manual, I would've seen that I had to remove the top & bottom plastic trunk trim pieces.

Yeah, I really need to start reading the directions.
Anyway, after I got the RH carpeting out of the way, I removed the black plastic mounting bracket, which exposed a pretty sizeable empty spot for the sub to sit in.
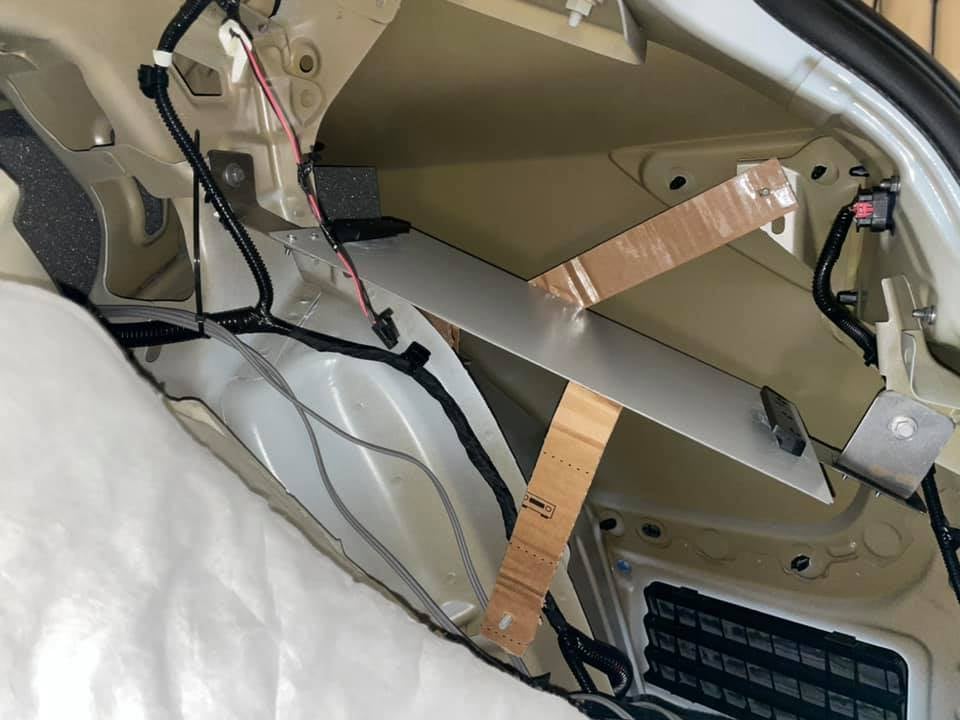
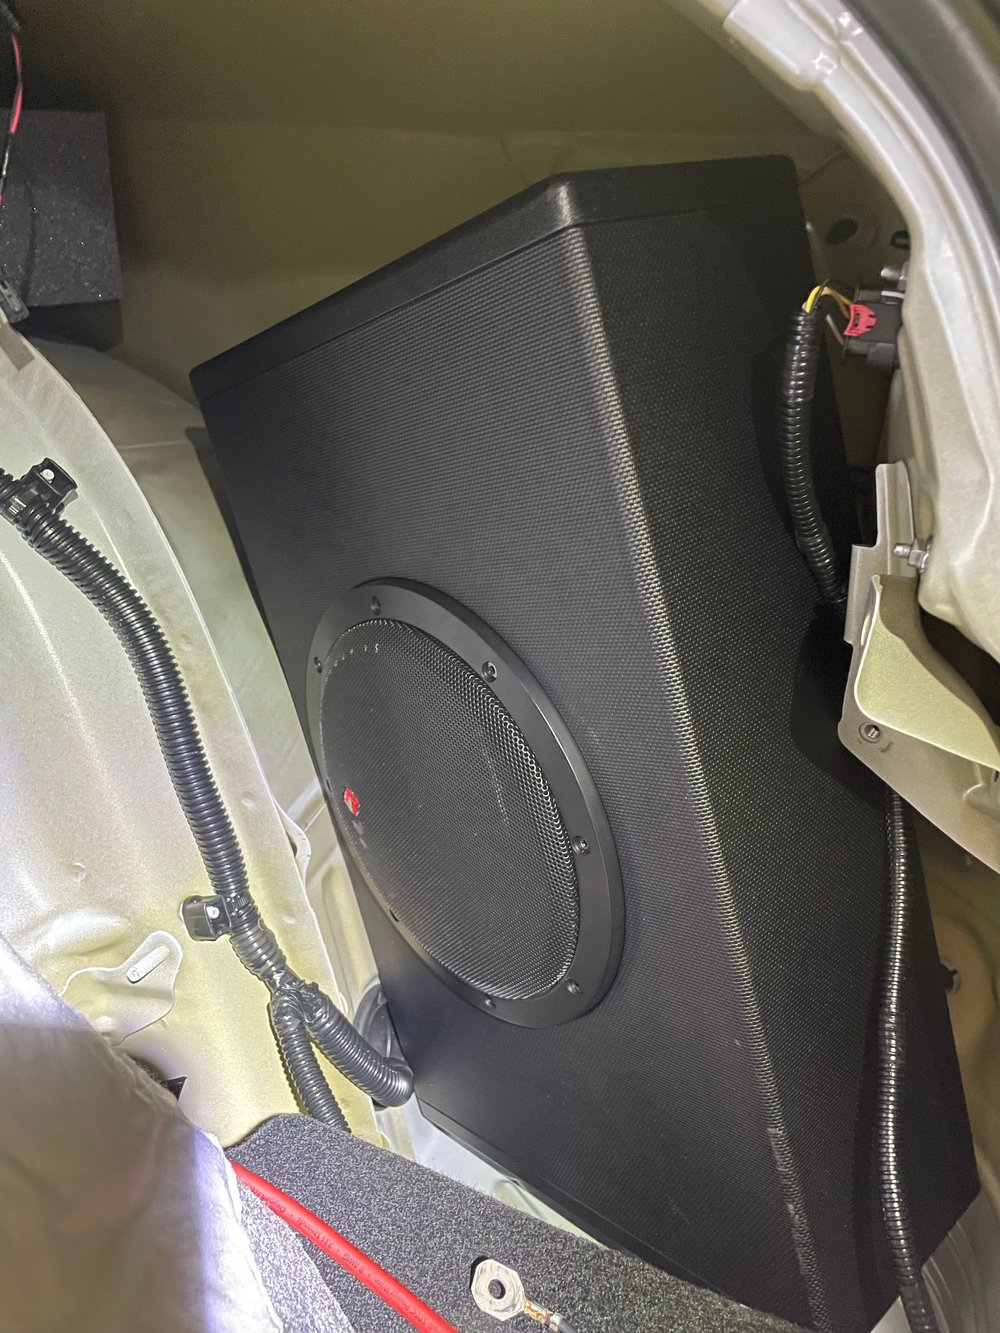
I spent a ton of time just trying to get the sub to fit. It seemed that no matter which way I tried to fit it in, it was always just a hair too big one way or another. Eventually, I just sat down, and it actually just slowly slid down inside with a 'clunk.' I wasn't complaining, and it seemed pretty secure, so I started the process of wiring everything up.
With the speaker wires already taken care of from Part 1, I now just needed to find 12V power for the sub. I decided to tap into the penthouse power underneath the rear seat bottoms.
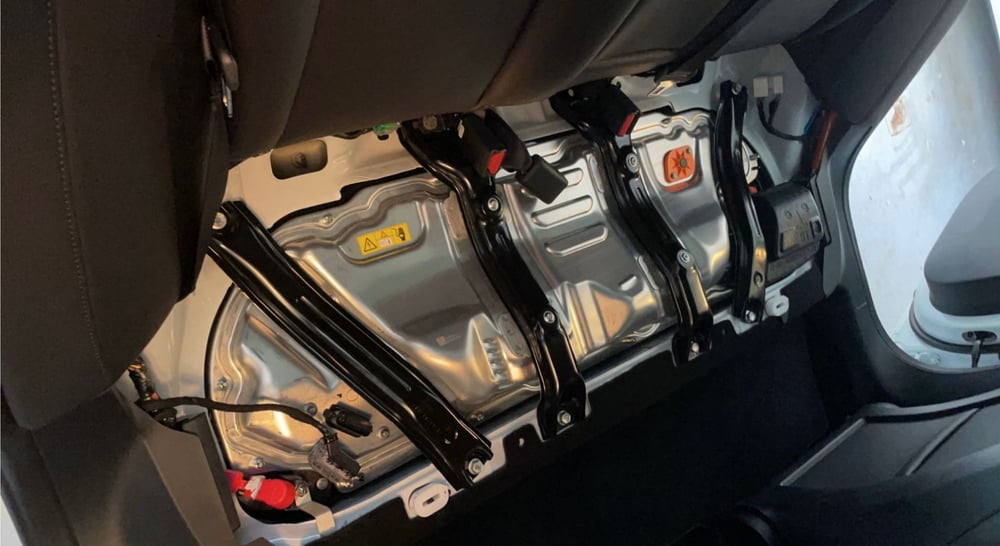
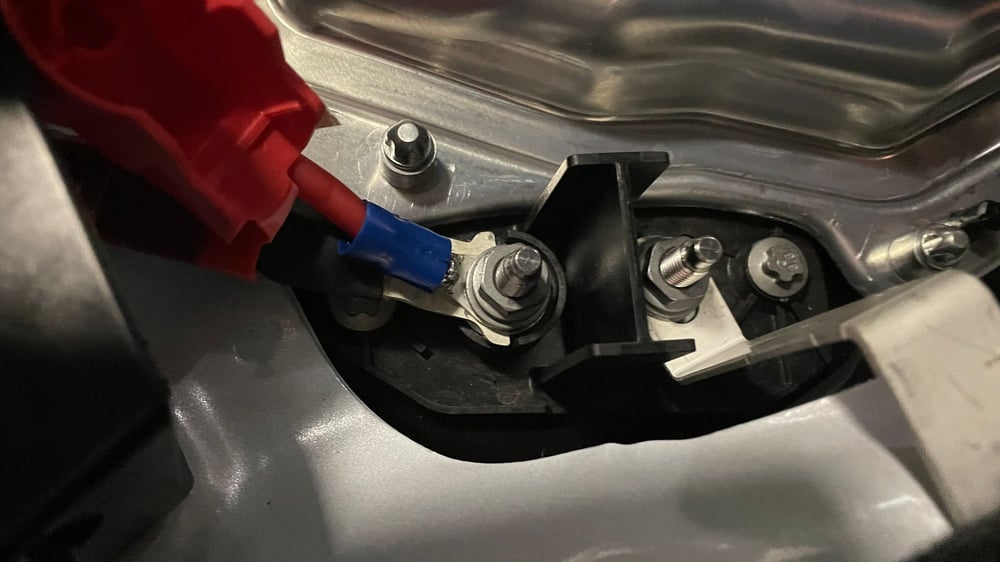
On the RH side of the penthouse, there's a red 'boot' that covers a screw terminal that provides constant 12V when the contactors are closed. At this point, I shut down the car using the same procedure that I did in part 1. I got a pack of 6-AWG ring terminals to put on the power cable to the sub.
Then, I removed the RH seat bolster and ran the cable up to where the sub was located.
The grounding point was easy to find, as the plastic bracket that goes over the sub has a conductive ring around one of the mounting holes that provided ground for another component (it looked to be the RH taillight.)
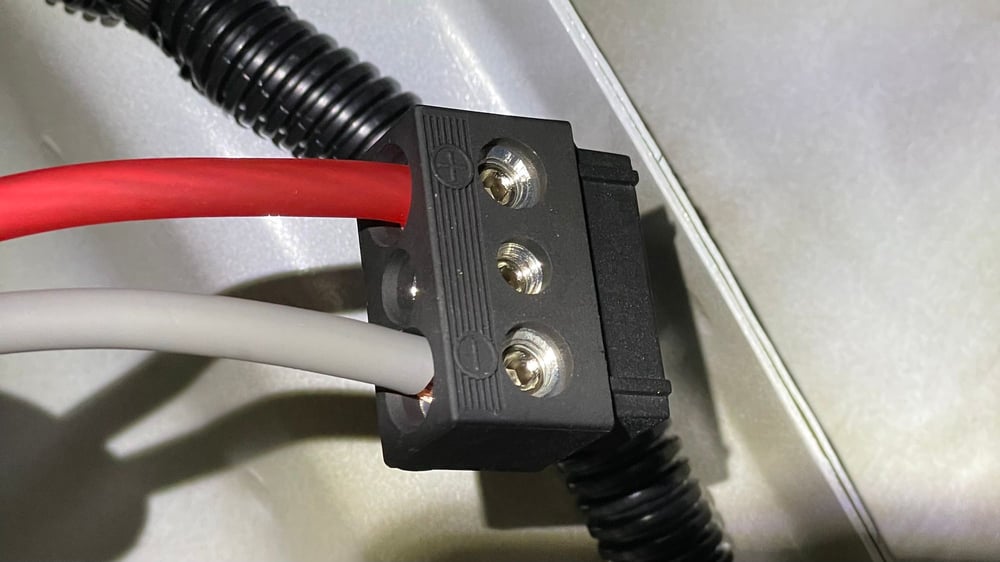
I connected the power cable to the screw terminal block provided and plugged it into the sub.
At this point, I soldered the extended speaker wires to the Molex connector provided in the subwoofer packaging. I then put the seat bolster back on, lowered the rear seat bottom back into place, and powered the car back up.
I did run into trouble trying to put the bolster back on, there's a tiny plastic piece that stays in the car and doesn't detach with it, so I had to get it out with a screwdriver and try to fit it back into the bolster. Tesla says it's one-time-use only, but I didn't feel like ordering a new one, so this will have to do.
Contrary to the Volvo fiasco - nothing blew up! I was really happy to see that VCFront wasn't throwing any errors about "excess current" or the sort, like others have had happen when installing aftermarket audio components into the car.
I did a quick test of just playing some music and made sure that sound was coming out of the sub, and I shut the car back down to finish the installation.
I unscrewed my temporary grounding point to make room for the plastic bracket, screwed that back in, and put the carpeting back into place.
I'm really happy with how it turned out, and I can't wait to play around with it and see how the different settings affect the sound.
Thanks for reading!