
When Samsung decided to sunset the "Original SmartThings App" in order to move users over to the newer version, I realized that I wasn't ever in total control of my smart home. They also switched everyone over without even considering about adding support for over many of the devices that worked with the previous version. This meant that almost half of the devices we have at home would cease to function.
Enter Home Assistant...
It's a fully-local, self-hosted smart home controller that works with thousands of manufacturers and best of all, it is immune to any of the aformentioned issues!
Switching to Home Assistant was always in the back of my mind, but I had never really gotten around to doing it partly because I would've needed to buy yet another Zigbee & Z-Wave hub.
Or so I thought
The SmartThings Hub had to have some sort of radio module inside to communicate, so I dug up the FCC docs to check it out. Turns out, they simply soldered on a module.
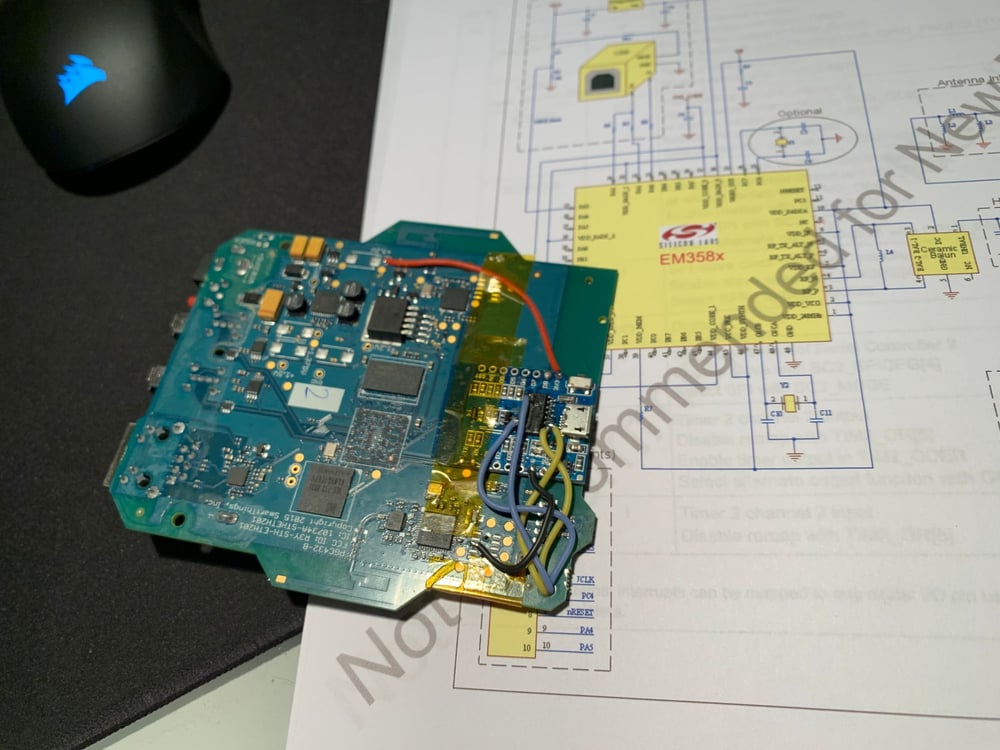
I opened up the Hub and started doing the usual, identifying the ICs and creating a basic block diagram. It didn't take long until I found the Zigbee chip, it was an Silicon Labs EM358x combo RF transciever and MCU.
Taking out the trusty ol' Dremel, I hacked off a whole corner of the board that contianed the Zigbee chip & pulled up the datasheet. I hooked up the MCU's UART pins to a old ESP8266 breakout board that I fried a while back (the USB to Serial converter was suprisingly still intact) and tried to see if Device Manager would detect anything.
What a surprise, it didn't work... Digging deeper into the datasheet, I found that you needed to supply a boot image on power up for some odd reason. I did however have access to an old copy of the Zigbee SDK that was floating around the internet, and I compiled a copy of it and tried to have it connect. It worked, so I flashed the basic EZSP protocol example and wrapped it in a bundle of Kapton tape.
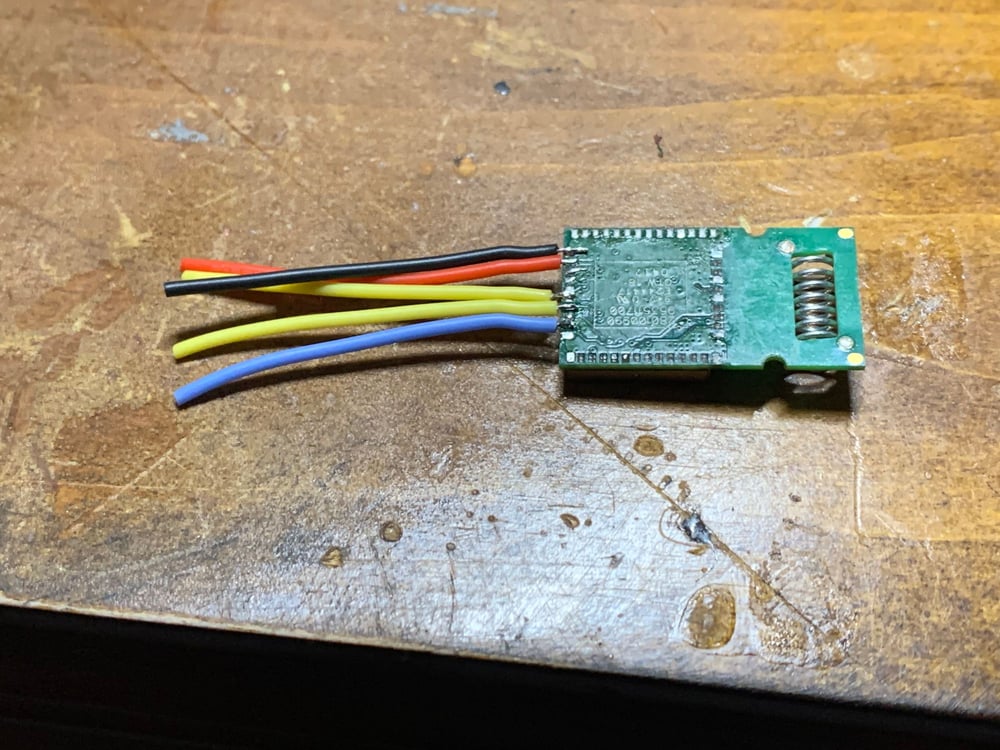
Now, the Z-Wave part was a bit different. Samsung decided to go with a standard ZM5304 Z-Wave module for their Hub. Plugging it into a Serial to USB adapter showed no new devices on my computer until I rewrote the firmware using the Z-Wave utilities built into Simplicity Studio 5
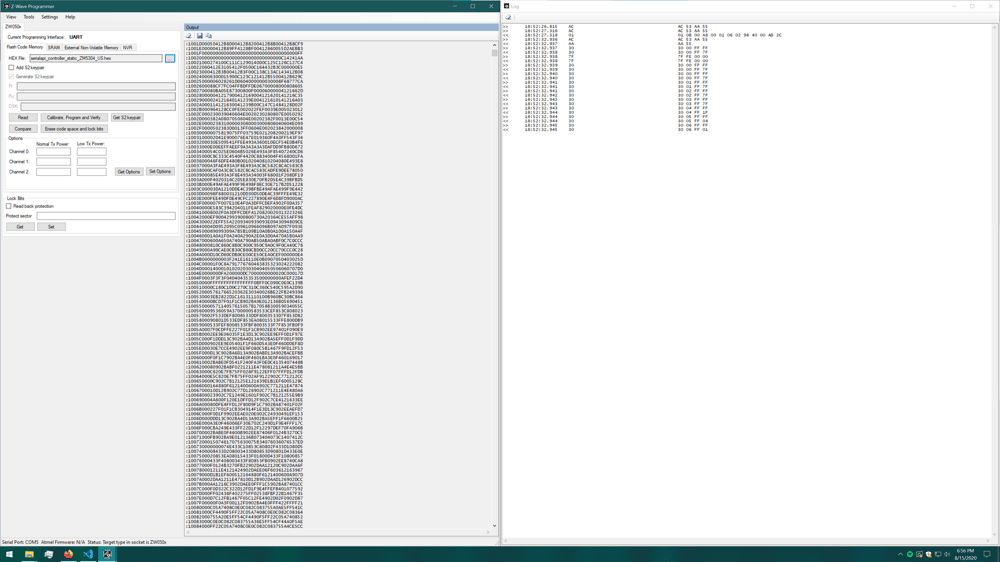
Plugging both of these frankenboards into the old MacBook we have running Home Assistant resulted in two functioning radio interfaces that we now have in use 24/7 for around 2 months and have not encountered any issues.
Thanks for reading!